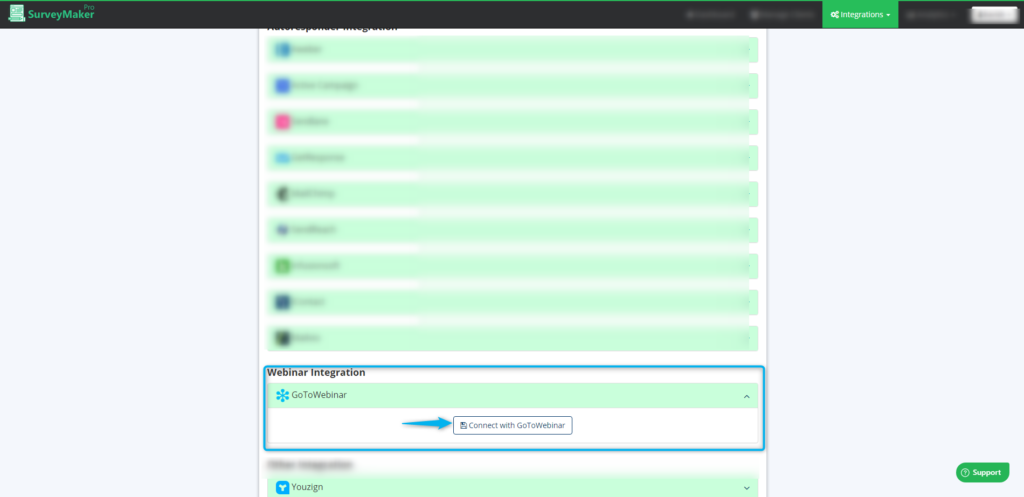
Click on Autoresponder and then GoToWebinar from the list,
Step 2
Click on the Connect to GoToWebinar button.
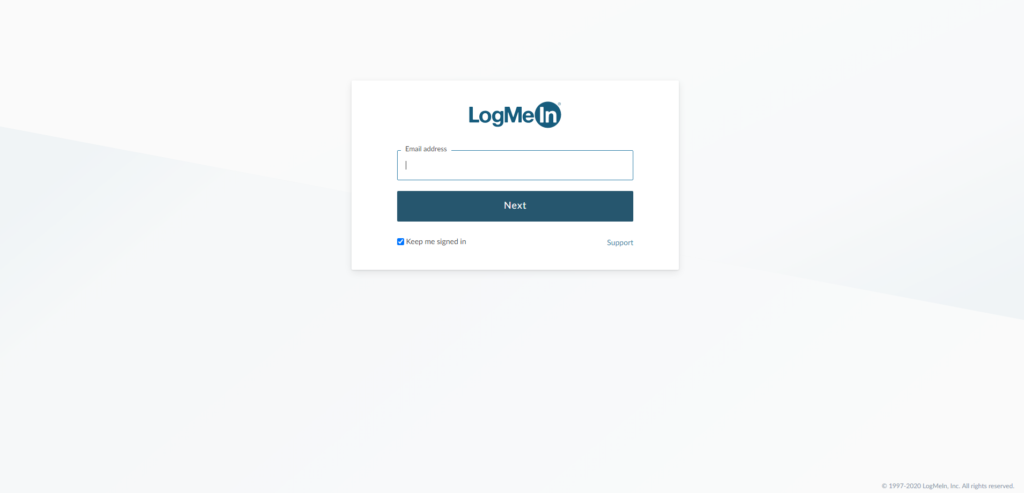
Step 3
Enter your GoToWebinar Email address, password, and click on the sign-in button.
“Now GoTowebinar is integrated with your Survey Maker Pro account”
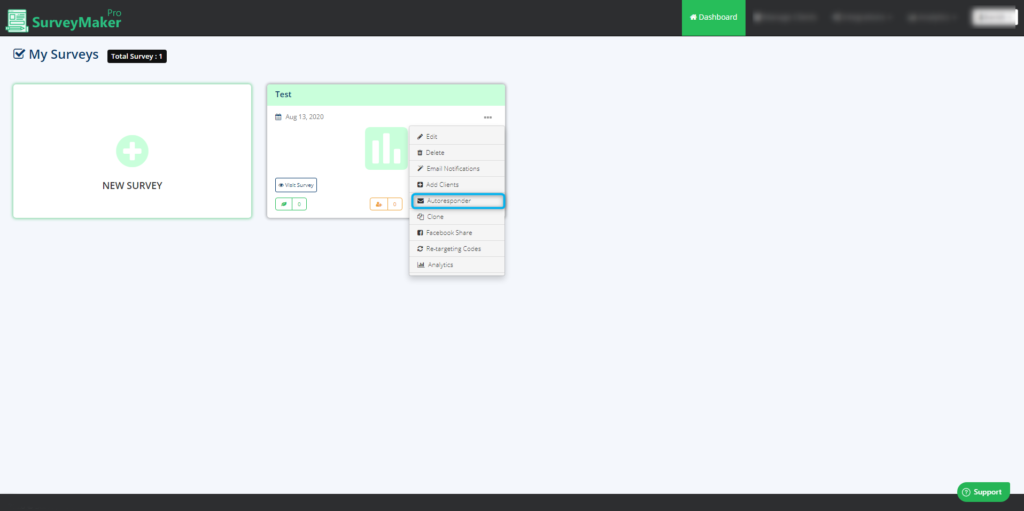
Step 4
Now, go to your Dashboard and click on the survey you want to integrate, then choose the edit option on the right top corner. Click on the Autoresponder icon.
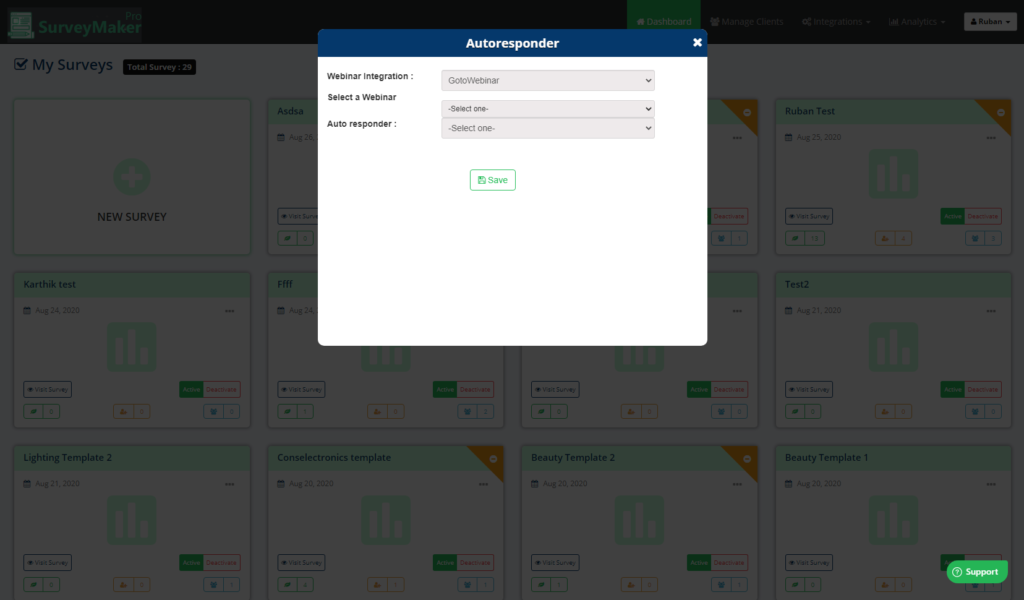
Step 5
Choose GoToWebinar Autoresponder from the list and select the preferred list to where you want to users to get registered. And then click on the save settings button.